
Authentication is a crucial part of most web applications. With the release of Ash Authentication, we are now able to authenticate users in Elixir applications using simple DSL on Ash resources. Ash Authentication comes with default configurations that work well for most applications. However, in some cases, customisation is necessary to cater to specific business needs.
In this blog post, we will discuss how to customise Ash authentication with Phoenix LiveView which follows the RealWorld specs. This required some deviation from the Ash Authentication defaults.
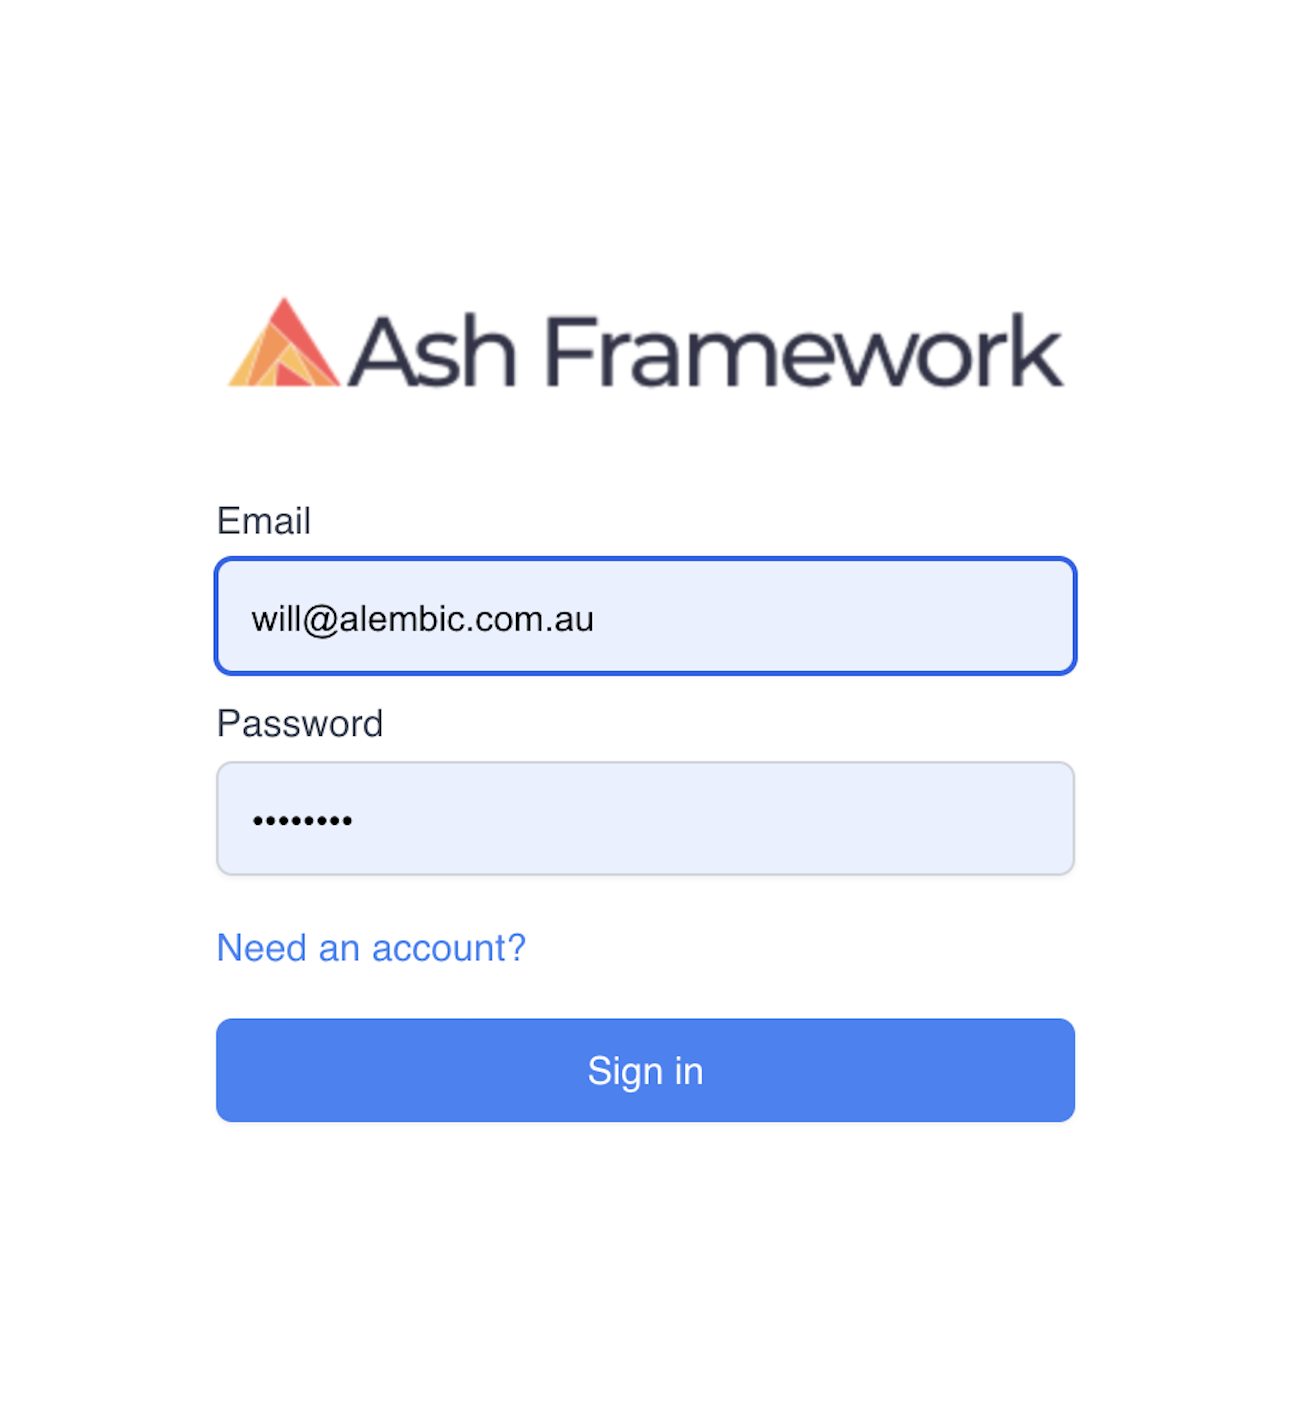
Specifically, how do we go from this:
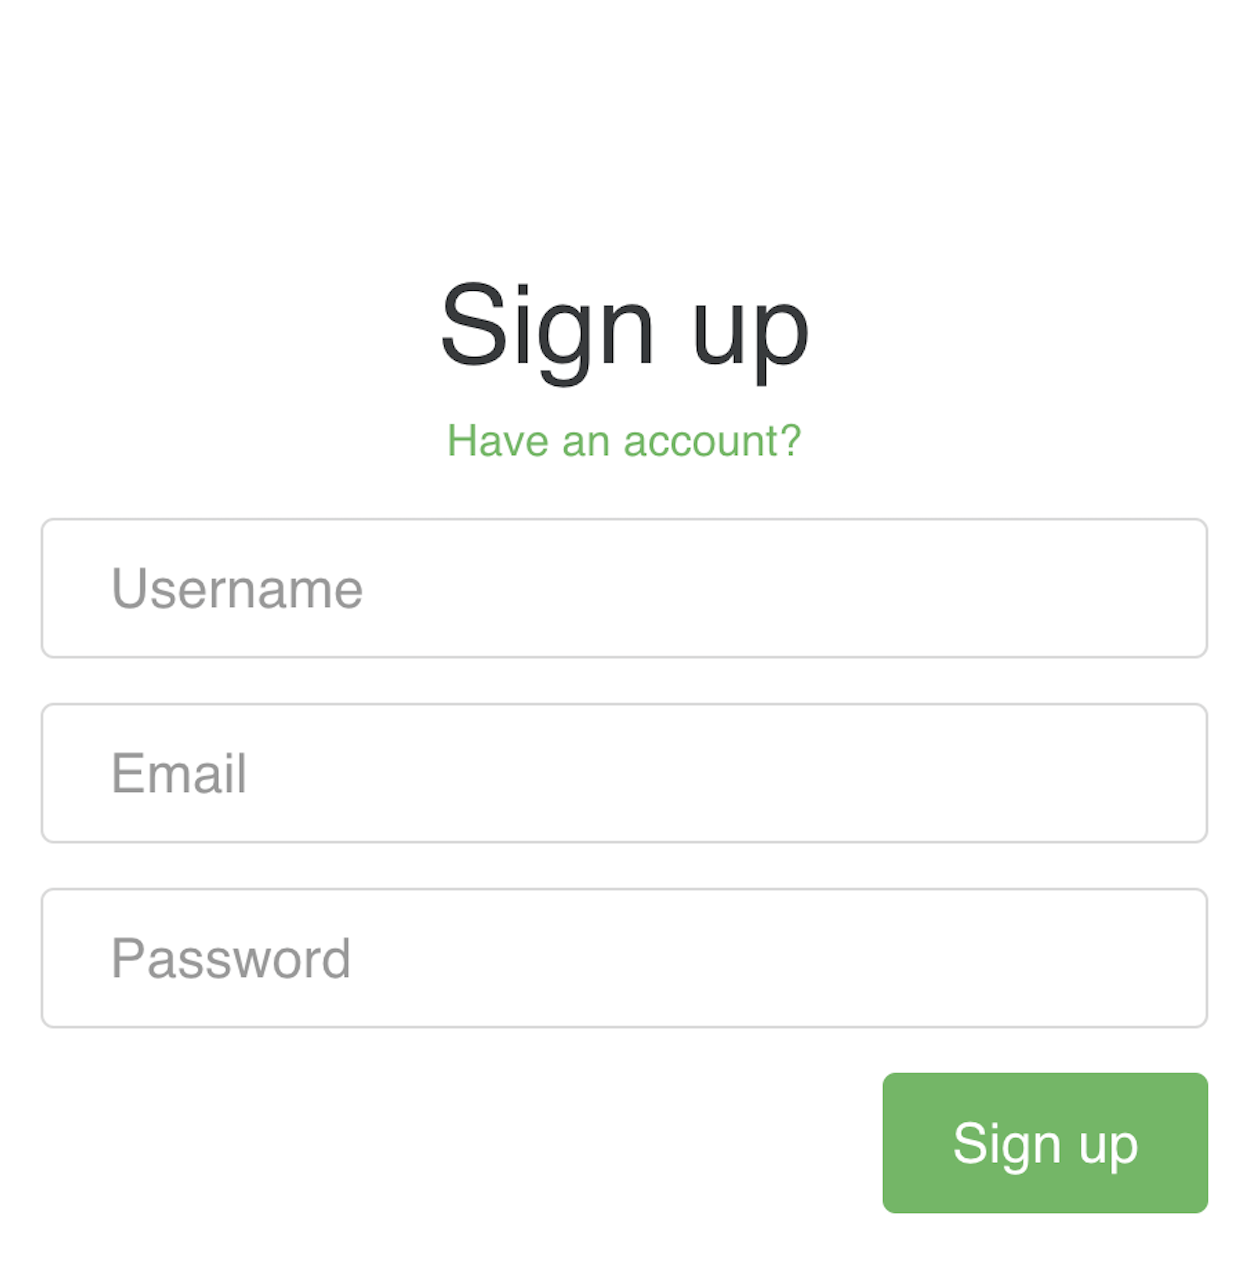
to this:
Before we dive into customisation, let's first have a brief overview of Ash Authentication. Ash Authentication provides features such as registration and sign-in using passwords/OAuth 2.0. Ash Authentication also offers default LiveView components for login, logout, registration, and password reset. These default configurations work well for most applications, but in some cases, they need to be customised.
Prerequisite
A working Phoenix + Ash application with default Ash Authentication. You can achieve this by following this step-by-step tutorial. Otherwise, you can also skip the tutorial and checkout the code on this branch on GitHub.
Customising Ash Authentication
First, let's modify the registration process. In the default process, a user enters their email address, password and password confirmation. However, in our case, we will skip the password confirmation and ask for a username instead. To achieve this, we can modify the User resource at custom_auth/lib/custom_auth/accounts/resources.
Let's add a new User attribute, username, in the User resource.
attributes do
  uuid_primary_key(:id)
  attribute(:email, :ci_string, allow_nil?: false)
  attribute(:hashed_password, :string, allow_nil?: false, sensitive?: true)
  attribute(:username, :string, allow_nil?: false)
end
Generate and run a new migration:
mix ash_postgres.generate_migrations --name add_username_to_users
mix ash_postgres.migrate
At this point, you should be able to register a new user with username, email and password. Let's confirm that. Fire up an IEx shell by running:
iex -S mix phx.server
Then,
CustomAuth.Accounts.User |> Ash.Changeset.for_create(:register_with_password, %{email: "abc@gmail.com", password: "password", username: "username123"}) |> CustomAuth.Accounts.create!()
Oops, Ash is telling us that Invalid value provided for password_confirmation: does not match. We need to skip password_confirmation and we can do that by setting confirmation_required? to false like so:
strategies do
  password :password do
    identity_field(:email)
    confirmation_required?(false)
    register_action_accept([:username])
  end
end
Now, you can confirm that the password_confirmation field is no longer required to register a new user:
CustomAuth.Accounts.User
|> Ash.Changeset.for_create(:register_with_password, %{email: "abc@gmail.com", password: "password", username: "username123"})
|> CustomAuth.Accounts.create!()
🥳🥳🥳 Well done! That is all you need to modify your Ash user resource to customise the registration process. We will move on to changing the form on our frontend to support this new process. To begin, let's get the styling out of the way and include a stylesheet in lib/custom_auth_web/components/layouts/root.html.heex.
<link rel="stylesheet" href="//demo.productionready.io/main.css" />
Next, We need to override the default behaviour of the register process given to us by Ash Authentication Phoenix. Let's say goodbye to our helpful friend sign_in_route() and replace it with 2 new routes register and sign-in at custom_auth/lib/custom_auth_web/router.ex
scope "/", CustomAuthWeb do
    ....

    # sign_in_route() <--- remove this line
    live "/register", AuthLive.Index, :register
    live "/sign-in", AuthLive.Index, :sign_in

    ....
  end
The last two steps are simply copying and pasting some html code. As this is not a Phoenix LiveView tutorial, I will only highlight the important changes related to Ash Authentication when we are done with the copy paste. For now, go ahead and copy the code below and paste it in a new file lib/custom_auth_web/live/auth_live/index.ex.
defmodule CustomAuthWeb.AuthLive.Index do
  use CustomAuthWeb, :live_view

  alias CustomAuth.Accounts
  alias CustomAuth.Accounts.User
  alias AshPhoenix.Form

  @impl true
  def mount(_, _, socket) do
    {:ok, socket}
  end

  @impl true
  def handle_params(params, _url, socket) do
    {:noreply, apply_action(socket, socket.assigns.live_action, params)}
  end

  defp apply_action(socket, :register, _params) do
    socket
    |> assign(:form_id, "sign-up-form")
    |> assign(:cta, "Sign up")
    |> assign(:alternative_path, ~p"/sign-in")
    |> assign(:alternative, "Have an account?")
    |> assign(:action, ~p"/auth/user/password/register")
    |> assign(
      :form,
      Form.for_create(User, :register_with_password, api: Accounts, as: "user")
    )
  end

  defp apply_action(socket, :sign_in, _params) do
    socket
    |> assign(:form_id, "sign-in-form")
    |> assign(:cta, "Sign in")
    |> assign(:alternative_path, ~p"/register")
    |> assign(:alternative, "Need an account?")
    |> assign(:action, ~p"/auth/user/password/sign_in")
    |> assign(
      :form,
      Form.for_action(User, :sign_in_with_password, api: Accounts, as: "user")
    )
  end

  @impl true
  def render(assigns) do
    ~H"""
    <div class="auth-page">
      <div class="container page">
        <div class="row">
          <div class="col-md-6 offset-md-3 col-xs-12">
            <h1 class="text-xs-center"><%= @cta %></h1>
            <p class="text-xs-center">
              <a href={@alternative_path}><%= @alternative %></a>
            </p>

            <.live_component
              module={CustomAuthWeb.AuthLive.AuthForm}
              id={@form_id}
              form={@form}
              is_register?={@live_action == :register}
              action={@action}
              cta={@cta}
            />
          </div>
        </div>
      </div>
    </div>
    """
  end
end
And the code below and paste it in a new file lib/custom_auth_web/live/auth_live/auth_form.ex.
defmodule CustomAuthWeb.AuthLive.AuthForm do
  use CustomAuthWeb, :live_component
  use Phoenix.HTML
  alias AshPhoenix.Form

  @impl true
  def update(assigns, socket) do
    socket =
      socket
      |> assign(assigns)
      |> assign(trigger_action: false)

    {:ok, socket}
  end

  @impl true
  def handle_event("validate", %{"user" => params}, socket) do
    form = socket.assigns.form |> Form.validate(params, errors: false)

    {:noreply, assign(socket, form: form)}
  end

  @impl true
  def handle_event("submit", %{"user" => params}, socket) do
    form = socket.assigns.form |> Form.validate(params)

    socket =
      socket
      |> assign(:form, form)
      |> assign(:errors, Form.errors(form))
      |> assign(:trigger_action, form.valid?)

    {:noreply, socket}
  end

  @impl true
  def render(assigns) do
    ~H"""
    <div>
      <ul class="error-messages">
        <%= if @form.errors do %>
          <%= for {k, v} <- @errors do %>
            <li>
              <%= humanize("#{k} #{v}") %>
            </li>
          <% end %>
        <% end %>
      </ul>
      <.form
        :let={f}
        for={@form}
        phx-change="validate"
        phx-submit="submit"
        phx-trigger-action={@trigger_action}
        phx-target={@myself}
        action={@action}
        method="POST"
      >
        <%= if @is_register? do %>
          <fieldset class="form-group">
            <%= text_input(f, :username,
              class: "form-control form-control-lg",
              placeholder: "Username"
            ) %>
          </fieldset>
        <% end %>
        <fieldset class="form-group">
          <%= text_input(f, :email,
            class: "form-control form-control-lg",
            placeholder: "Email"
          ) %>
        </fieldset>
        <fieldset class="form-group">
          <%= password_input(f, :password,
            class: "form-control form-control-lg",
            placeholder: "Password"
          ) %>
        </fieldset>
        <%= submit(@cta, class: "btn btn-lg btn-primary pull-xs-right") %>
      </.form>
    </div>
    """
  end
end
And here is the most important bit on the frontend: to utilise AshPhoenix.Form to deal with Ash changesets.
|> assign(:action, ~p"/auth/user/password/register")
|> assign(
  :form,
  Form.for_create(User, :register_with_password, api: Accounts, as: "user")
)
That is it! At this point, we should be able to register a new account with email, username and password and sign in to it as well.
Conclusion
Customising Ash Authentication using the Ash framework and Phoenix LiveView is a straightforward process. By modifying the default templates and controllers, we can cater to specific business needs and add additional layers of security. Ash Authentication provides a solid foundation for web application security, and with the power of Phoenix LiveView, we can create reactive, real-time web applications that are both secure and user-friendly.